|
Adding the control to a Visual C++ 6 project |
  
|
|
Adding the control to a Visual C++ 6 project |
|
Find below required steps:
| • | Open the project you are working on |
| • | Choose the "Project/Add To Project/Components and Controls..." menu item |
| • | From the "Components and Controls Gallery" select the "Registered ActiveX controls" folder |
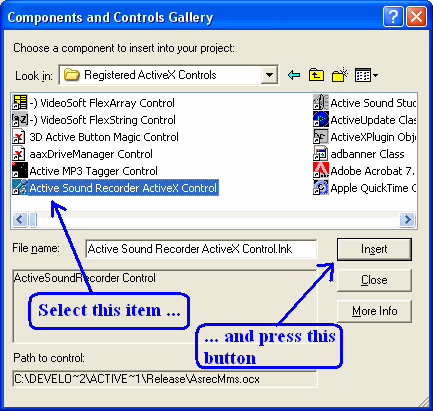
| • | From the "Components and Controls Gallery", select the "Active Sound Recorder ActiveX Control" element as seen in the screenshot below and press the Insert button |
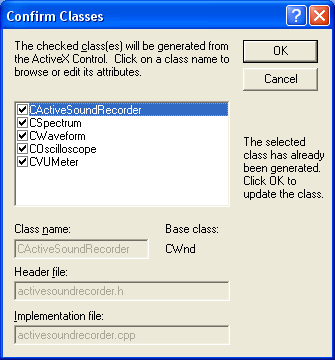
| • | Press the "OK" button on the message box and dialog box that will appear. |
| • | Now press the "Close" button of the "Components and Controls Gallery" that will take you again to your project working area |
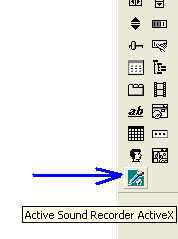
| • | Once the control has been inserted inside the project, the following icon should appear inside your development environment toolbox |
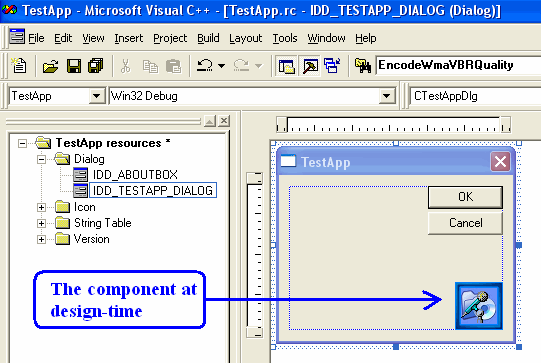
| • | Now you can select the control icon inside the toolbox and drag it into the dialog box under editing; the following icon will appear on the dialog box (note that this icon will be invisible at runtime) |
| • | You can now start developing your code around the control as described inside the How to use the control in your projects section. |